LEARN ABOUT PHOTOGRAPHY
Want to learn to take photographs like a pro? You don’t need fancy equipment to take great pictures. Learn some tips and tricks from professional photographers. For instance, when is the best time of day to take photographs? If you want to buy a camera, what is the best place to start?
Fun Photography Fact: The word “photography” comes from the Greek words phos (light) and graphê (drawing), meaning “drawing with light.”
That’s it! Photography is the manipulation of light. In fact, the first camera was just a pinhole for light. Yes, cameras have evolved, but it’s just to give photographers more control over the light.
That’s why you don’t need a fancy camera to produce amazing photographs.

UNDERSTAND LIGHTING FOR PHOTOGRAPHY
Lighting can make or break a photo. Here are some tips for working with light:
Natural Light
Natural light is your best friend when you’re starting out. The sun is like a beautiful softbox, but it’s always moving, changing color, and casting shadows.
Here are some tips:
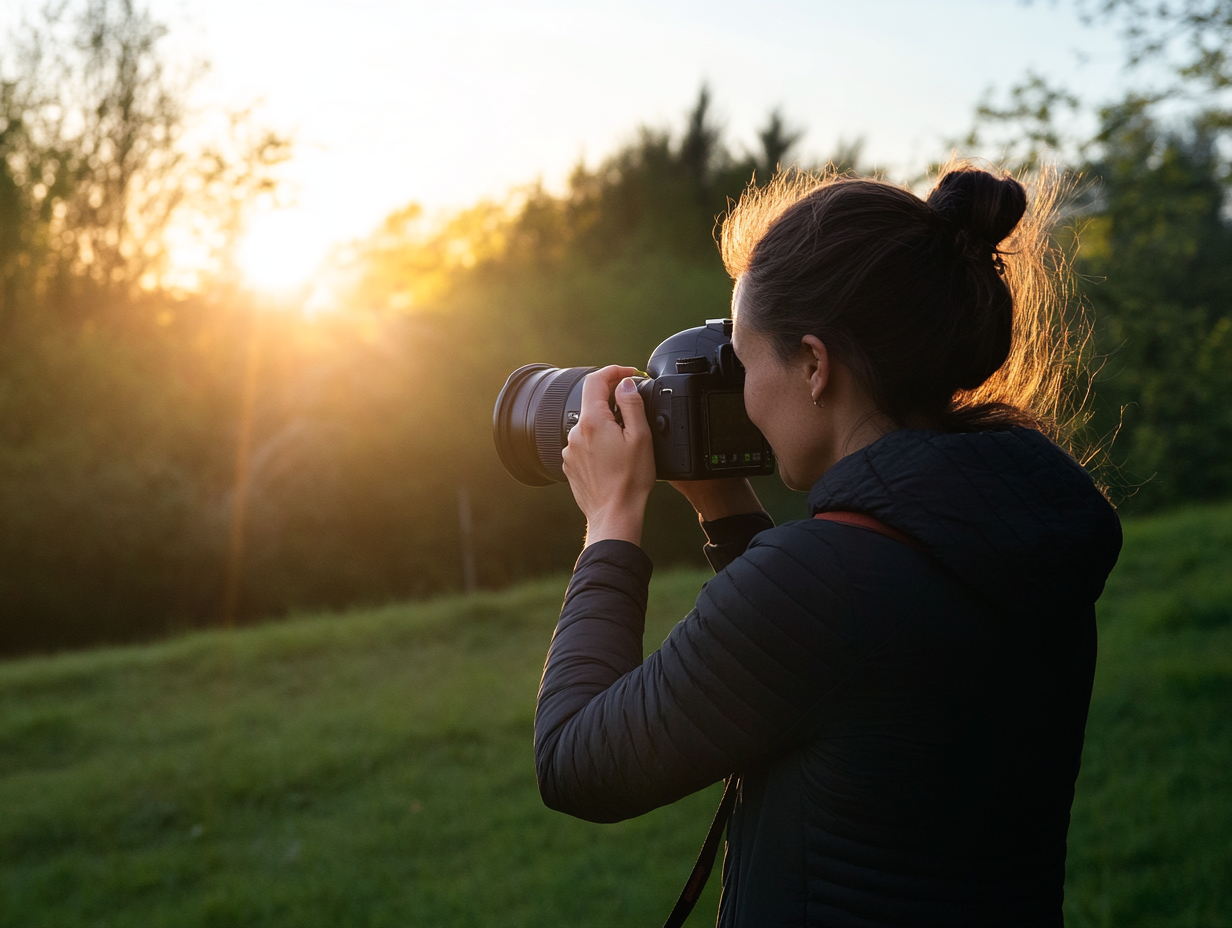
Golden Hour: The hour after sunrise and before sunset is prime time. The light is soft, golden, and super flattering.
Midday Sun: Harsh and unforgiving. If you’re shooting at noon, look for shade to avoid squinty faces and strong shadows.
Cloudy Days: Nature’s softbox! Clouds diffuse the sunlight, creating even lighting that’s perfect for portraits.
Artificial Light: Your Secret Weapon
When the sun goes down, it’s time to get creative with artificial light. Lamps, fairy lights, and even your phone’s flashlight can work wonders.
Warm vs. Cool Light: Notice how some lights are yellowish (warm) while others are bluish (cool)? Mixing them can make photos look weird, so stick to one type of light for a consistent vibe.
DIY Diffusers: Want softer light? Place a white sheet or thin paper in front of a lamp. Voilà—instant pro lighting!
3. Directional Light: Where’s the Sun?
The direction of light dramatically affects your photo:
Front Light: The light hits your subject head-on. It’s great for showing details but may look flat or cause squinty eyes if there aren’t clouds.
Side Light: Adds drama and texture. Perfect for food, portraits, or anything where you want depth. However, it can cause unwanted shadows on the face.
Backlight: Creates silhouettes and dreamy effects. Think glowing hair during sunset shots! Just make sure your subject is properly exposed to not appear too dark.

COMPOSITION BASICS FOR PHOTOGRAPHY
Composition is the foundation of a great photograph. Here are some key principles to keep in mind:
Rule of Thirds: Imagine your frame divided into a 3×3 grid. Place your subject along the lines or at their intersections to create a balanced and pleasing composition.
Leading Lines: Use natural lines—like roads, fences, or rivers—to draw the viewer’s eye toward the main subject.
Framing: Use natural elements like windows, arches, or trees to frame your subject and add depth.
Negative Space: Give your subject room to “breathe” by incorporating empty space around them.

LEARN YOUR CAMERA SETTINGS
Understanding your camera’s manual settings gives you more creative control. Focus on these three key elements:
Aperture (f-stop): Controls the depth of field. A lower f-stop (e.g., f/2.8) creates a blurred background, while a higher f-stop (e.g., f/16) keeps everything in focus.
Shutter Speed: Determines how long your camera’s sensor is exposed to light. Faster speeds (e.g., 1/1000) freeze motion, while slower speeds (e.g., 1/30) can create motion blur.
ISO: Adjusts your camera’s sensitivity to light. Use a low ISO (e.g., 100) in bright conditions and a higher ISO (e.g., 1600) in low light, but be cautious of noise in higher settings.
FREE RESOURCES TO LEARN MORE ABOUT PHOTOGRAPHY
The internet is packed with incredible free resources to help you grow as a photographer. Here are some recommendations:
Digital Photography School
This blog offers practical tips, tutorials, and challenges suitable for beginners and experienced photographers.SLR Lounge
A comprehensive resource for photography education, including gear reviews, tutorials, and business tips for photographers.Fstoppers
Focuses on photography news, in-depth tutorials, and community-driven content to help you improve your skills.PetaPixel
Covers photography news, gear reviews, and insightful articles about the art and science of photography.
Studio Newport is an award-winning photography studio located in Newport, RI.
RELATED READING TO PHOTOGRAPHY

Shades of Me
SHADES OF ME SESSION Edgy. Intimate. Unfiltered. Early Access Launch May 29 EARLY ACCESS SIGN-UP Please enable JavaScript in your browser to complete this form.Please

Now Booking: Boudoir Model Call Applications Open
INKED BOUDOIR Model Call: Applications Open APPLY We’re looking for women with tattoos—bold, delicate, colorful, or black and gray—to participate in a special boudoir photography
